3d Printing is a relatively new technology that is revolutionizing the world of makers and allowing people to craft new and unique 3 dimensional objects without needing the construction and building skills needed to create something via traditional methods.
What is 3d printing?
3d printing is a process that turns a 3d model into a physical object. 3d printing has been around since the 1980s in the industrial realm, but hobby / home 3d printing really took off in the last 10 years or so.
Most 3d printers work by feeding molten plastic through an extruder nozzle to build up layers of plastic to create a 3d object. Think of it as a small, hot play doh extruder.
Steps to 3d print an object
- Get a 3d model
- Slice the model into gcode
- Print the object.
Step 1: Get a 3d model

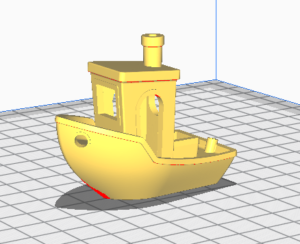
3d model
You will need a 3d model of the object you want to create. There are a few different ways to obtain a 3d model.
- Make it yourself
- Download it from the internet
If you have the know-how, you can create a 3d model yourself using CAD / modeling software such as TinkerCad, MeshMixer and Blender. These are free pieces of software that can be used to create 3d models, but the learning curve can be quite high.
Alternatively, you can find countless 3d models available for free or for not a lot of money on websites where users can upload a 3d model for people to download and print.
Here are a few of my favorite 3d model sites:
Step 2: Slice the model into gcode

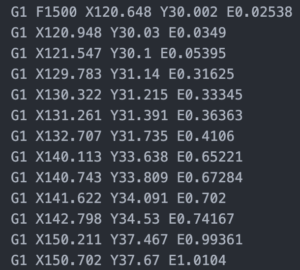
example of gcode
Gcode is a computer readable file format that tells the printer how to make the object. The process of generating this is called slicing. It is called that because it ‘slices’ the model into thin layers, which when stacked on top of each other represent your object.
There are several free pieces of software that can slice a 3d model into gcode, but I recommend Cura, by Ultimaker. https://ultimaker.com/software/ultimaker-cura
When you load a model into Cura, it renders it in a 3d viewer and allows you to adjust settings as needed for your printer.
Step 3: Print your object

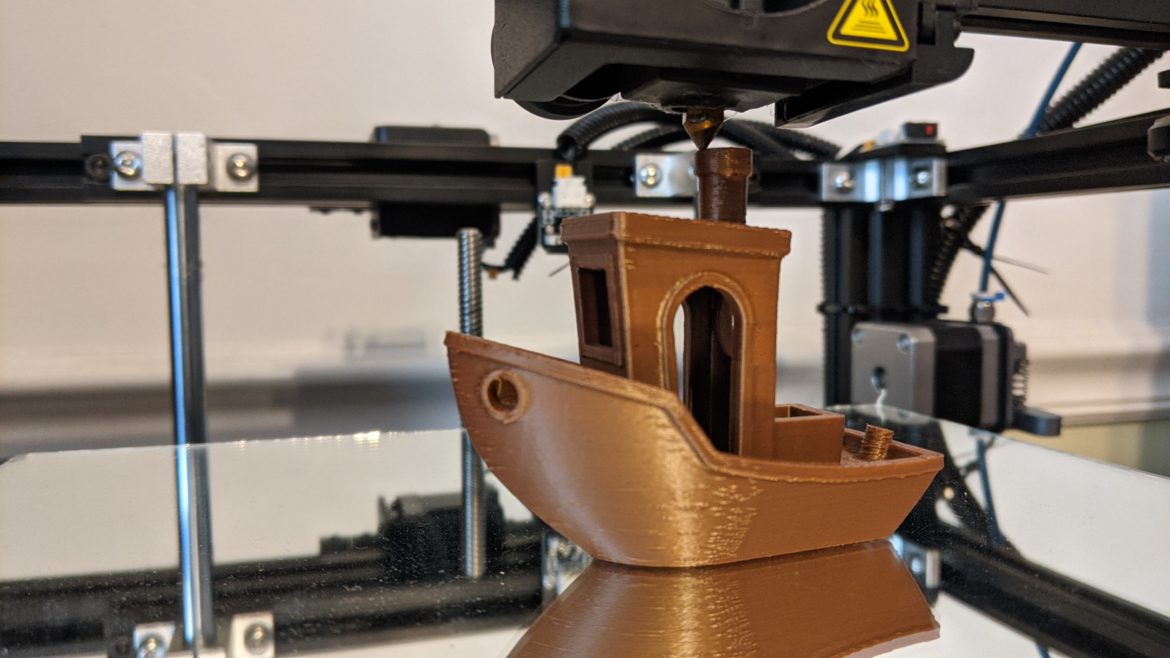
3d Printed Boat
The last and arguably most fun step is printing your new object. Transfer your newly generated gcode file to your 3d printer and push the ‘go’ button. Assuming everything goes right anywhere from 30 minutes to several days later (depending on what you are making and how big it is) you will have a shiny new thing.
This beginners guide barely scratches the surface of the hobby of home 3d printing. Keep an eye out for more 3d printing articles here in the future!
The boat that I printed here can be found on Thingiverse here: Benchy
